After the exciting installation of new hardwood, laminate, or vinyl floors, completing a thorough post-install checklist is essential to protect your investment and ensure lasting beauty and performance. These final steps—from proper cleaning and acclimation checks to inspecting transitions and sealing edges—address minor adjustments and confirm the installation meets quality standards before daily use begins. In this guide, we’ll walk you through a comprehensive post install checklist tailored to each flooring type, giving you the confidence that your new floors are ready for years of enjoyment.
A Post Install Checklist That Every New Floor Needs
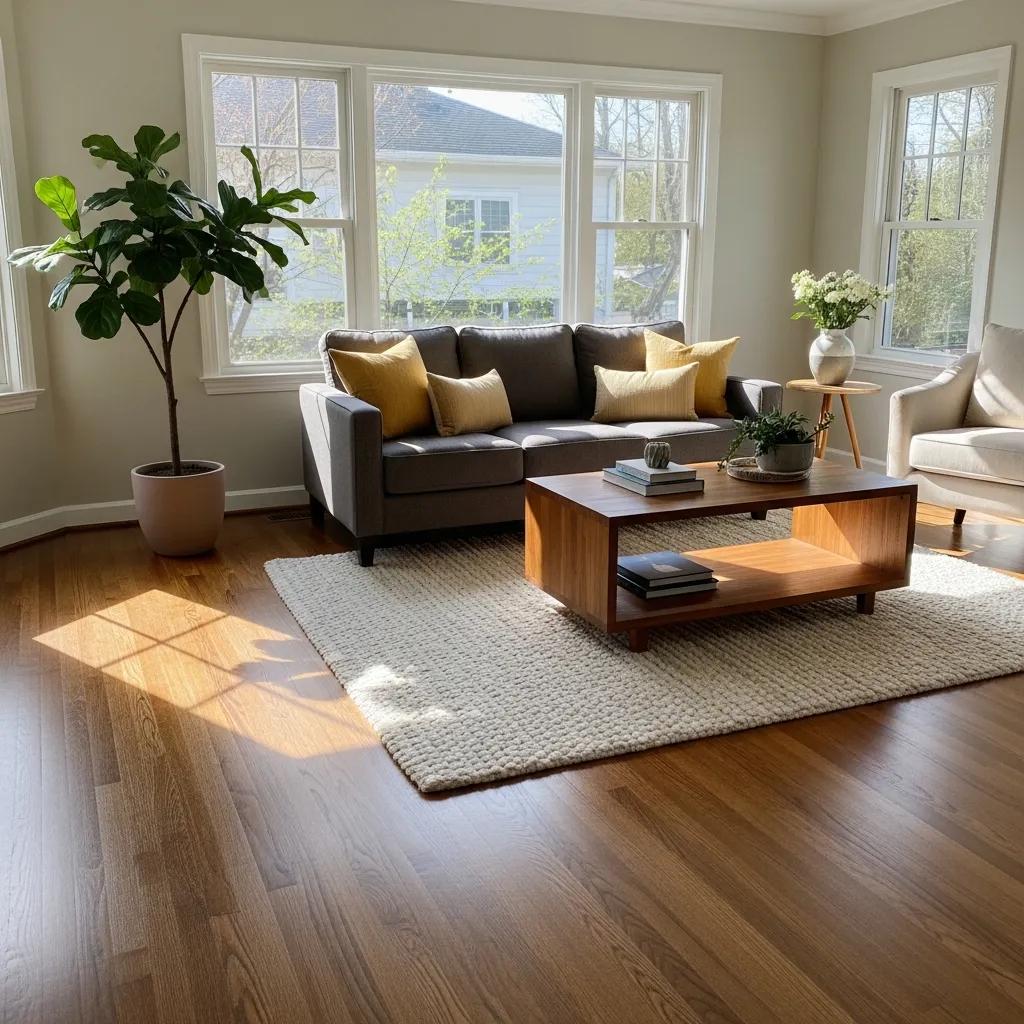
How Should You Care for New Hardwood Floors After Installation?

New hardwood floors look great on day one, but how they look a year from now depends on what you do in the first few weeks and the habits you keep long-term. Hardwood is durable, but it is still a natural material that can scratch, dull, or swell when moisture sits on the surface. The good news is that maintenance does not have to be complicated. A consistent routine and the right tools go a long way, especially when you follow a simple post install checklist that keeps you from accidentally undoing that fresh finish.
Right after installation, give the floor time to settle into your home’s temperature and humidity. If your installer provided specific cure-time guidance for the finish, follow it closely. Even when a floor feels dry to the touch, some finishes continue to harden over time. During this period, take extra care with rugs, furniture movement, and anything that could trap grit underneath.
A post install checklist is helpful here because it keeps you focused on the basics: protect the surface, avoid excess moisture, and clean gently but consistently. These small steps prevent the most common early issues, like scuffs near entryways or dull spots in high-traffic areas.
What Is the Daily Hardwood Floor Cleaning Routine to Prevent Damage?
Daily care is mostly about removing the dirt you cannot always see. Fine dust and small bits of grit act like sandpaper under shoes and pet paws, slowly wearing down the finish. A quick sweep with a soft-bristle broom or a vacuum designed for hard floors helps prevent that slow, gradual dulling.
Spills should be handled right away, even small ones. Water, coffee, and pet accidents can seep into seams if they sit too long, and moisture is one of the fastest ways to damage wood. Use a soft cloth that is only slightly damp, then dry the area. The key is speed and restraint. You are wiping up a spill, not washing the floor.
What you want to avoid is routine wet mopping or anything that leaves standing water. Too much moisture can cause warping, swelling, or cloudy patches in the finish. If your floor needs a deeper clean, it is better to use a cleaner designed for hardwood and apply it sparingly, rather than soaking the surface.
Which Products and Tools Are Recommended for Hardwood Floor Cleaning?
The safest approach is to use tools that clean effectively without scratching. Microfiber mops and cloths are a strong choice because they pick up dust and debris without dragging it across the floor. For vacuuming, choose a setting or attachment meant for hardwood so you are not using a beater bar that can leave marks.
When it comes to cleaning solutions, pH-neutral cleaners made for hardwood are usually the best option. They are formulated to remove residue without breaking down the finish over time. This matters because harsh cleaners may not show damage immediately, but repeated use can slowly dull the sheen or create uneven spots.
Avoid ammonia, bleach, abrasive powders, and strong all-purpose degreasers unless your floor manufacturer explicitly approves them. These products can strip finishes or leave films that attract more dirt. Also be cautious with “natural” DIY mixes. Some vinegar-based solutions are too acidic for certain finishes and can contribute to premature wear.
If you want to keep things simple, build your post install checklist around a few non-negotiables: microfiber for routine cleaning, a hardwood-safe vacuum setup, and a pH-neutral cleaner used lightly when needed. With that foundation, your floors stay looking newer for longer without requiring fussy or time-consuming upkeep.
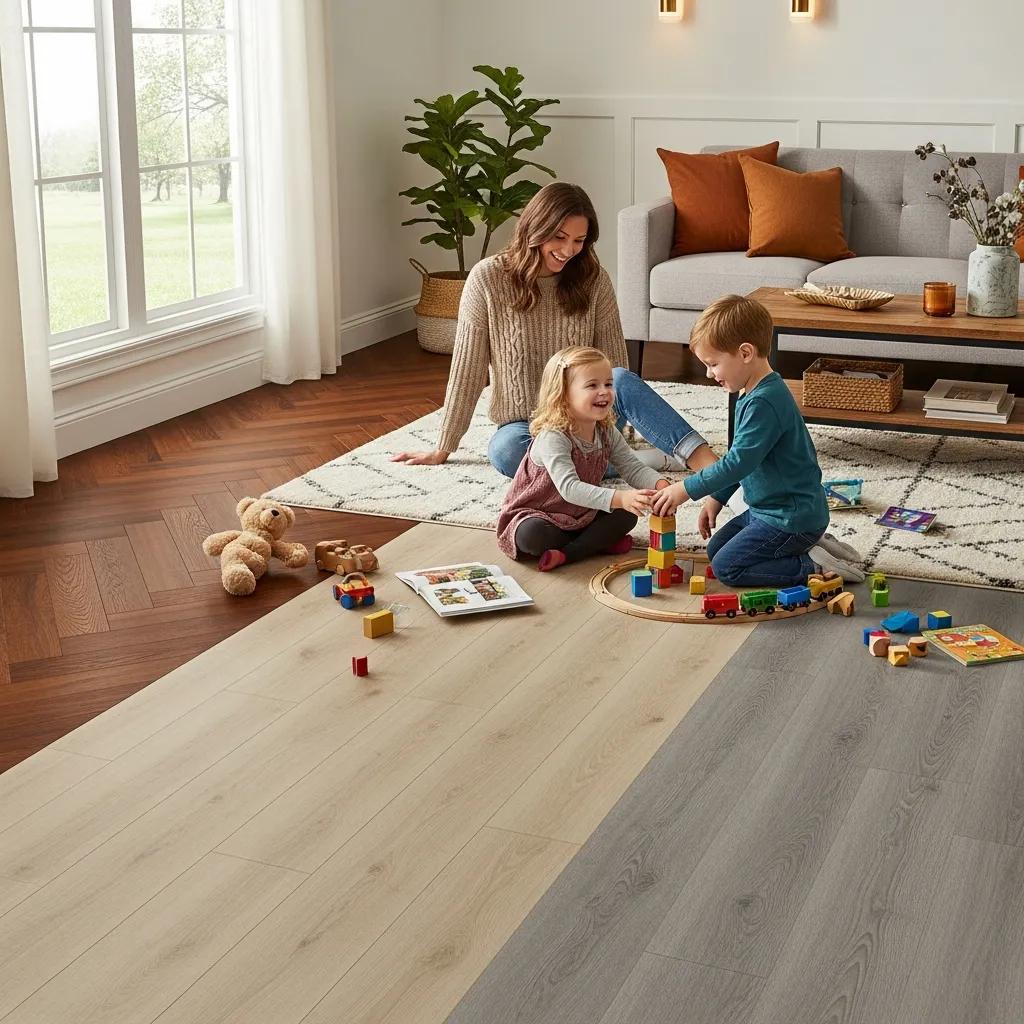
What Are the Best Practices for Maintaining New Laminate Floors?

Laminate floors are a popular choice because they handle everyday wear better than many people expect. They tend to resist stains and surface scratches, and they are often easier to live with in busy homes. Still, laminate is not indestructible. The biggest threats are usually moisture getting into seams, buildup from the wrong cleaners, and small grit that dulls the surface over time. If you keep a simple post install checklist and follow it consistently, you can protect the finish and keep the floor looking clean without overdoing it.
The first thing to know is that laminate is built in layers, and while the top layer is designed to be durable, water can still cause problems if it seeps into the joints. That is why “clean” does not mean “wet.” Most laminate floors do best with dry or lightly damp cleaning, plus quick attention to spills. The goal is to remove dirt and residue without letting moisture linger.
How Do You Safely Clean Laminate Floors Without Causing Swelling Or Damage?
A safe cleaning routine for laminate starts with dry debris removal. Dust, crumbs, and tiny particles of grit are what cause that dull, slightly scratched look over time, especially in walkways and near entrances. Regular passes with a microfiber mop or a vacuum set up for hard floors help prevent wear before it starts.
When you need more than dry cleaning, use a mop that is only lightly damp, not wet. Wring it out well so you are not pushing water across the surface. A laminate-safe cleaner can help cut through footprints and light grime, but you do not need much. Apply it sparingly and avoid leaving puddles or streaks that take a long time to dry.
Spills should be wiped up right away, even if they seem minor. Water, pet bowls, and wet shoes are common culprits because they create repeated exposure in the same spots. If you notice water getting into the seams, dry the area thoroughly and keep an eye on it over the next few days. Including these steps in your post install checklist is a practical way to protect the floor during the period when you are still settling into new routines.
Moisture control is the main reason this approach works. Most laminate issues that show up later, like swelling or edge lifting, start with water sitting too long or being used too often during cleaning.
What Cleaning Products Should Be Avoided On New Laminate Flooring?
Laminate floors can be surprisingly sensitive to the wrong tools and cleaners, even if they look fine at first. Steam mops are a common mistake. The combination of heat and moisture can push water into seams and weaken the flooring over time, which is when you start to see warping or lifting.
Harsh chemicals are also a problem. Abrasive powders and scouring products can scratch or dull the wear layer, and strong acidic cleaners, including vinegar-heavy mixes, can leave the surface looking cloudy with repeated use. Some oil-based products and “shine boosters” can create a residue that attracts dirt and makes the floor look streaky, even right after you clean it.
If you want a simple rule to follow, stick to cleaners labeled for laminate, use them lightly, and avoid anything that adds excess water or leaves a coating behind. A quick post install checklist posted in a utility drawer can help everyone in the home clean the same way, which is often the easiest path to keeping laminate floors looking new.
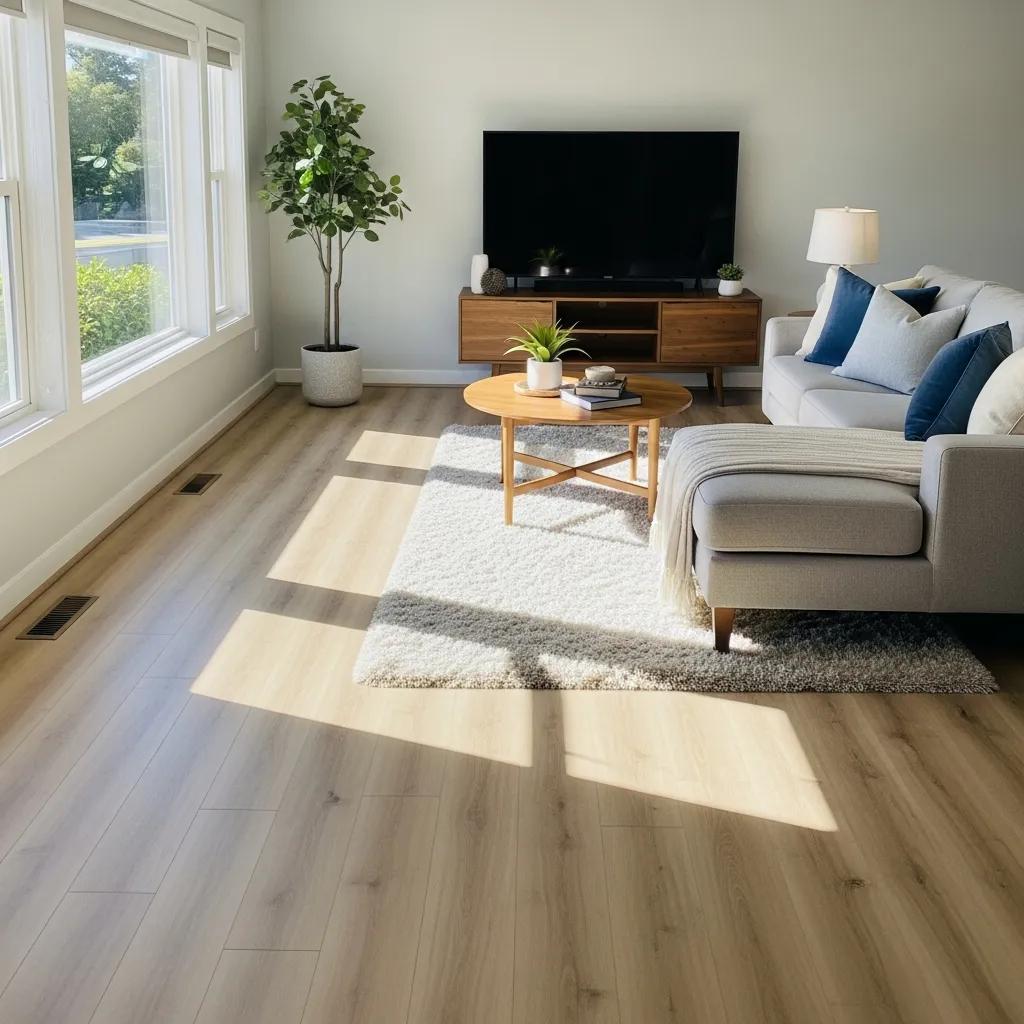
How Can You Protect and Maintain New Vinyl Plank Floors Effectively?

Vinyl plank floors are popular for a reason. They handle everyday life well, they are easy to clean, and they tend to hold up in areas where moisture is a concern. Still, “durable” does not mean “maintenance-free.” The first few weeks after installation are a good time to set habits that prevent scratches, reduce dulling, and keep grit from wearing down the surface. A simple post install checklist can help you protect your floors without turning cleaning into a big project.
Start by thinking about how the space is used. Entryways, kitchens, and hallways tend to collect the most dirt, and that dirt is usually what causes surface wear. Small particles get trapped under shoes and furniture feet, and over time they can leave fine marks that make the floor look less new. If you focus on keeping debris off the surface and using the right cleaners, vinyl plank flooring typically stays in great shape for the long haul.
What Are the Recommended Cleaning Tips and Products for Vinyl Plank Floors?
The best cleaning routine for vinyl plank floors is simple and consistent. Regular sweeping or vacuuming keeps dust and grit from building up, which is key for preventing tiny scratches. If you vacuum, use a hard-floor setting so you are not using a rotating brush that can scuff the surface.
For deeper cleaning, a lightly damp mop is usually enough. Most vinyl plank floors do well with warm water and a mild detergent, or a cleaner that is labeled as safe for vinyl. The goal is to lift grime without leaving a film behind. Too much soap can create residue that attracts dirt, so use a small amount and change the water if it starts looking cloudy.
Avoid wax products and solvent-based polishes. Wax can make the floor slick and can also create a buildup that dulls the finish instead of improving it. Solvent-based products are risky because they can soften or discolor the wear layer. If you want shine, it is better to keep the floor clean and residue-free than to add a coating that may not be compatible with the material. Adding these basics to your post install checklist helps everyone in the home clean the same way, which prevents accidental damage from well-meaning shortcuts.
How Do You Prevent Scratches and Wear on New Vinyl Flooring?
Scratch prevention is mostly about reducing friction and stopping grit at the door. Felt pads under furniture legs are one of the easiest protections you can add, especially under chairs, stools, and anything that gets moved often. Check the pads occasionally, because worn pads can collect debris and start causing the very marks they are meant to prevent.
Entry mats also make a bigger difference than most people expect. A good mat traps dirt before it spreads across the room, which cuts down on daily wear and reduces how often you need to mop. If you have a busy household, consider a no-shoes routine or at least a consistent spot where shoes come off, since small stones stuck in treads are a common cause of scratches.
When moving furniture or appliances, avoid dragging them across the floor. Lift when possible, or use a protective barrier designed for moving heavy items. Also wipe up spills quickly, not because vinyl is fragile, but because standing liquid can work its way into seams over time and leave residue that attracts more dirt.
If you keep your post install checklist focused on debris control, gentle cleaning, and basic furniture protection, vinyl plank floors stay attractive and easy to maintain without requiring special treatments or constant attention.
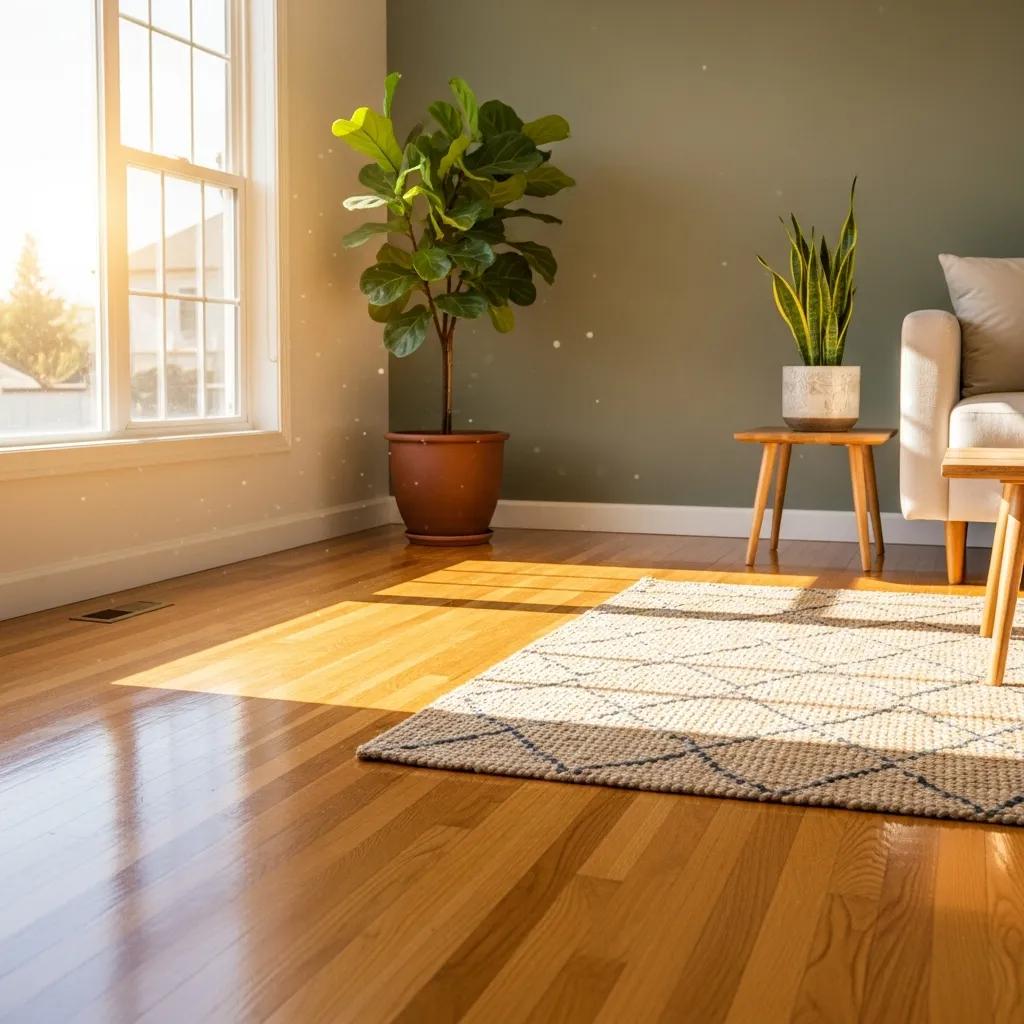
What General Floor Protection Measures Should Be Taken For New Floors?

No matter what type of flooring you choose, the first few weeks after installation are the easiest time to build habits that protect it long-term. Most floor damage does not come from one big accident. It comes from everyday friction, trapped grit, moisture tracked in from outside, and cleaning shortcuts that slowly wear down the surface. A simple post install checklist helps you focus on prevention, which is almost always easier than fixing problems later.
Start by walking through your home as if you are the floor. Where do people enter? Where do they drop bags, kick off shoes, or drag chairs back from the table? Those are the spots that benefit most from protective steps like mats, felt pads, and a consistent cleaning routine. Floors last longer when you reduce abrasion and keep moisture from building up at seams or along baseboards.
How Do Felt Pads, Doormats, And Humidity Control Extend Floor Longevity?
Felt pads are one of the most practical protections you can add right away. Furniture movement is a common source of scratches, even when it feels minor, like scooting a chair or shifting a coffee table. Pads create a softer barrier between the furniture and the floor, which helps prevent scuffs and dents. They are especially useful under dining chairs, stools, and pieces that get moved frequently. It is also worth checking them occasionally, since worn pads can collect grit and lose their effectiveness.
Doormats do a different job, but they matter just as much. Dirt and small debris are abrasive, and when they are tracked across the floor day after day, they act like sandpaper. A good mat at each entry helps catch the grit before it spreads throughout the home. If you live in a rainy area or have high foot traffic, consider using a mat outside and another inside to reduce both moisture and debris.
Humidity control is the step people forget, but it can make a big difference, especially for wood-based products. When indoor air gets too dry, wood can shrink and develop gaps. When it gets too humid, boards can swell and shift. Keeping humidity in a steady range, often around 30 to 50 percent, helps reduce movement that leads to warping, cracking, or seam changes. Add a humidity check to your post install checklist so you remember to monitor it during seasonal shifts, not just when something looks off.
What Common Floor Care Mistakes Should Be Avoided After Installation?
One of the most common mistakes is using the wrong cleaning product because it is already under the sink. Floors are not one-size-fits-all, and some cleaners leave residue, dull finishes, or break down protective coatings over time. It is safer to use products made for your specific floor type and follow label directions, especially when the floor is new.
Another mistake is treating water like a universal cleaner. Wet mopping and soaking a floor can lead to swelling, seam issues, or cloudy finishes depending on the material. A lightly damp approach is usually safer than a wet one, and spills should be handled quickly so moisture does not sit in place.
Finally, do not ignore manufacturer instructions. Those guidelines are often tied to warranty coverage, and they usually include small details that prevent long-term wear, like which tools to use, what to avoid, and how long finishes need to cure. If you keep your post install checklist focused on protecting entry points, buffering furniture contact, and controlling moisture and humidity, your floors will keep their look and performance for years without constant upkeep.nd durability. By adhering to recommended cleaning routines, using appropriate products, and implementing protective measures, homeowners can ensure their floors remain in excellent condition for years to come.
Ensuring New Floors Stay Beautiful for Years to Come
Following a thorough post-install checklist is the key to protecting your investment and ensuring the long-term beauty and durability of your new hardwood, laminate, or vinyl floors. From proper acclimation and cleaning to routine maintenance, these steps preserve your floors for years to come. For expert flooring installation, quality materials, and the confidence of professional guidance, trust Diaz Hardwood Floors. Ready to enjoy flawless floors in your home? Call 404-791-0444 today or send us a message through our contact form for a consultation and experience the quality craftsmanship that makes all the difference.